はじめに
以前、本ブログにてVMware Playerおよび、Oracle VirtualBoxの導入からゲストOSのインストールまでの解説記事を書きましたが、これらの仮想化ソフトウエアを利用してさまざまなOSのインストールだけでなく、業務などで利用するアプリケーションなどのインストールまでを人手で行うのは、時間も手間も掛かり想像しただけでも大変です。ここでは、これらの仮想化ソフトウエア用の仮想マシンのイメージファイルの作成および、OSからアプリケーションのインストールまでを自動化できる仮想マシンの自動作成ソフトウエアについて解説します。
自動化とは
IT業界では、バックアップの自動化などさまざまな自動化がありますが、仮想マシンの自動作成ソフトウエアでは、仮想化ソフトウエアごとに行っていた仮想マシンの作成→ゲストOSのインストール→アプリケーションのインストールまでを自動化することができます。この自動化によって、これまで仮想化ソフトウエアごとに行っていた仮想マシンの構築作業(初期作業)が簡単になるとともに、仮想マシンの品質にばらつきが無くなり誰が作成してもお同じ仮想マシンを作成することができます。また、初期の構築作業の負荷が軽減されるため、仮想マシンの自動化の後は、仮想マシンの運用監視やセキュリティアップデートなど、本来の運用管理業務に注力することができます。
代表的な自動化ソフトウエア
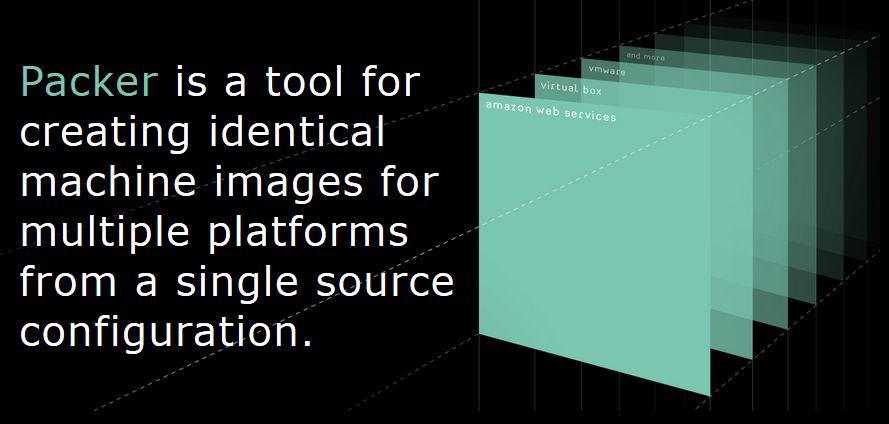
自動化ソフトウエアは、2009年ごろから開発され始めた比較的新しいソフトウエアです。代表的な自動化ソフトウエアとして、Packer(パッカー)および、Vagrant(ベイグラント)が上げられます。その他にもUForgeなども開発されていますが、UForgeがコマーシャル製品なのに対し、Packerおよび、Vagrantは商用・非商用利用を問わず無償で利用できるため、国内でもユーザー数を増やしています。自動化ソフトウエアの機能は、Builder(ビルダー)、Provisioner(プロビジョナー)、Post-Processor(ポスト・プロセッサー)の機能に分かれており、BuilderはゲストOSのインストール、Provisionerは、ゲストOSインストール後の設定や各種ソフトウエアのインストール、Post-Processorは、仮想マシンイメージ作成後の最終処理を行います。このように、自動化ソフトウエアは、仮想マシンの初期の構築作業ごとに機能が分割されており、ユーザーがこれらの機能を自由にカスタマイズできます。
自動化に必要なソフトウエア
本記事を書くにあたって使用したソフトウエアは、下記のとおりです。
| 種別 | ソフトウエア |
| ホストOS | Windows 7 Ultimate |
| UNIX環境 | Cygwin 1.7.25 |
| 自動化ソフトウエア | Packer 0.9.3 Vagrant 1.3.4 |
| 仮想化ソフトウエア | VirtualBox 4.2.18 r88780 |
以降では、本環境を元に仮想マシン作成の自動化を行っています。
Packerによる仮想マシンの作成
それでは、実際にPackerを使ってVirtualBox用の仮想マシンイメージの作成を自動化します。その前に、Packerによる仮想マシンイメージの大まかな流れを説明します。Packerでは、先に説明したBuilder、Provisioner、Post-Processorの設定を構成ファイル(jsonファイル)として記述し、Packerでは、この構成ファイルを元に仮想マシンイメージを作成します。また、仮想マシンにインストールするOSによって、自動インストールのための設定ファイルが必要になりますので、こちらの準備も必要になります。つまり、インストールするOSごとに自動インストールのための設定ファイルを用意し、Packerの構成ファイルを作成することが必要となります。今回は、Debian Linux 7.1.0の仮想マシンイメージを作成し、VirtualBoxにインポートする手順を説明します。
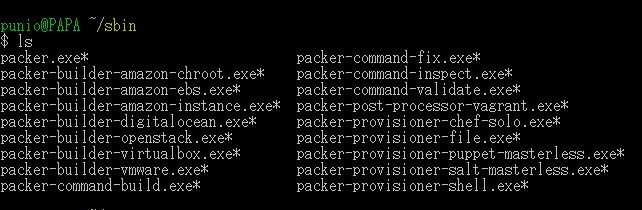
①Packer 0.9.3のダウンロードとZIPファイルの解凍
Packerのサイトから最新版のWindows用のZIPファイルをダウンロードし、任意のフォルダに展開します。展開したフォルダにPATHを通します。
②構成ファイルの作成
Packerドキュメント(英語)および、Debianのpreseedの利用(日本語)を参考にして、下記のファイルを作成します。
| ファイル名 | 概要 |
| packer-template-debian71.json | テンプレートファイル |
| preseed.cfg | Debian自動インストール用の設定ファイル |
| base.sh | Provisionerに指定するシェルスクリプトファイル |
③テンプレートファイルの構文チェック
validateコマンドを使用して、作成したテンプレートファイルの構文をチェックします。
packer validate packer-template-debian71.json
構文エラーが無ければ、successfullyと表示されます。

構文エラーがあった場合、エラーとなったjsonファイルの行番号とエラー内容が表示されます。

punio@PAPA ~/my-packer-template
$ packer validate packer-template-debian71.json
Template validated successfully.
punio@PAPA ~/my-packer-template
$ packer build packer-template-debian71.json
virtualbox output will be in this color.
==> virtualbox: Downloading or copying Guest additions checksums
    virtualbox: Downloading or copying: http://download.virtualbox.org/virtualbox/4.2.18/SHA256SUMS
==> virtualbox: Downloading or copying Guest additions
    virtualbox: Downloading or copying: http://download.virtualbox.org/virtualbox/4.2.18/VBoxGuestAdditions_4.2.18.iso
==> virtualbox: Downloading or copying ISO
    virtualbox: Downloading or copying: http://cdimage.debian.org/debian-cd/7.1.0/i386/iso-cd/debian-7.1.0-i386-netinst.iso
==> virtualbox: Starting HTTP server on port 8081
==> virtualbox: Creating virtual machine...
==> virtualbox: Creating hard drive...
==> virtualbox: Creating forwarded port mapping for SSH (host port 3213)
==> virtualbox: Executing custom VBoxManage commands...
    virtualbox: Executing: modifyvm packer-template-debian71 --memory 1024
    virtualbox: Executing: modifyvm packer-template-debian71 --cpus 2
==> virtualbox: Starting the virtual machine...
==> virtualbox: Waiting 10s for boot...
==> virtualbox: Typing the boot command...
==> virtualbox: Waiting for SSH to become available...
==> virtualbox: Connected to SSH!
==> virtualbox: Uploading VirtualBox version info (4.2.18)
==> virtualbox: Uploading VirtualBox guest additions ISO...
==> virtualbox: Provisioning with shell script: base.sh
    virtualbox:
    virtualbox: We trust you have received the usual lecture from the local System
    virtualbox: Administrator. It usually boils down to these three things:
    virtualbox:
    virtualbox: #1) Respect the privacy of others.
    virtualbox: #2) Think before you type.
    virtualbox: #3) With great power comes great responsibility.
    virtualbox:
    virtualbox: [sudo] password for vagrant:
==> virtualbox: Gracefully halting virtual machine...
    virtualbox:
    virtualbox: The system is going down for system halt NOW!
==> virtualbox: Preparing to export machine...
    virtualbox: Deleting forwarded port mapping for SSH (host port 3213)
==> virtualbox: Exporting virtual machine...
==> virtualbox: Unregistering and deleting virtual machine...
Build 'virtualbox' finished.
==> Builds finished. The artifacts of successful builds are:
--> virtualbox: VM files in directory: output-virtualbox
④仮想マシンイメージの作成
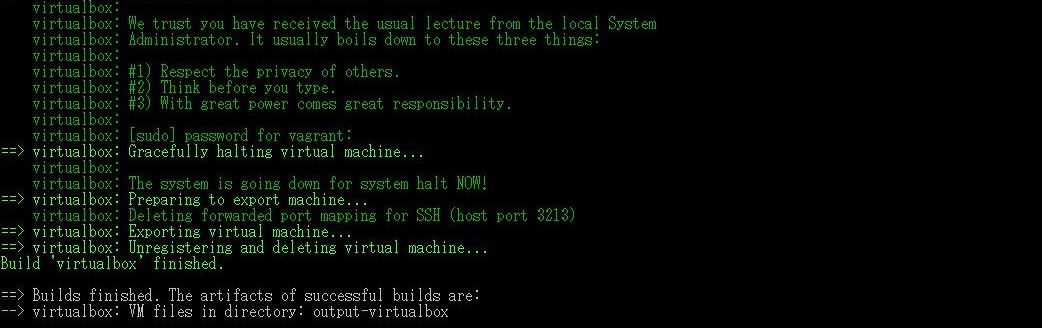
手順①で作成したファイルを元に、buildコマンドを使用して仮想マシンイメージを作成します。
packer build packer-template-debian71.json

Packer起動後、Builderに指定されたisoイメージファイルをダウンロードします。

VirtualBoxのVBoxManagerによって仮想マシンが作成され、Builderに指定された仮想マシンパラメータを設定します。

boot_commandに指定した文字列によってキーボード入力をエミュレートすることにより、OSの自動インストールを行います。

OSのインストールが終了すると、仮想マシンを自動シャットダウンし、
VIrtualBox用のイメージファイル(OVFファイル)をエクスポートします。
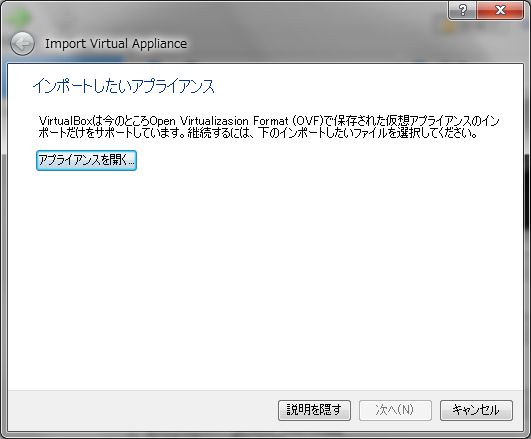
⑤イメージファイルのインポート
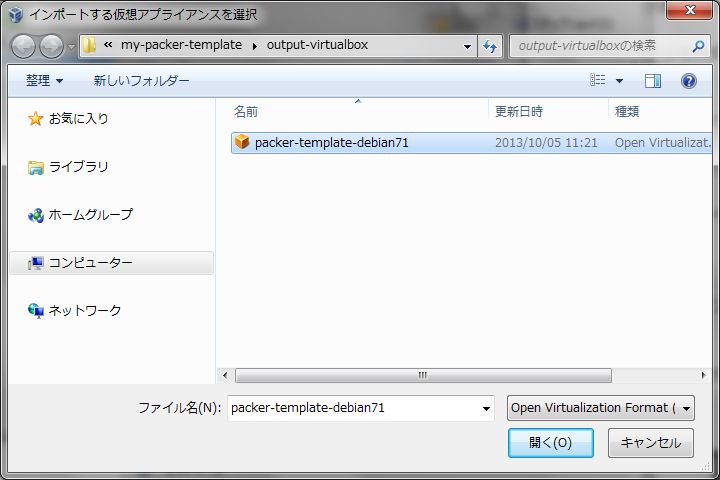
作成した仮想マシンイメージをVirtualBoxにインポートします。
VirtualBoxを起動し、ホーム画面のファイル(F)メニューから「仮想アプライアンスのインポート」をクリックします。

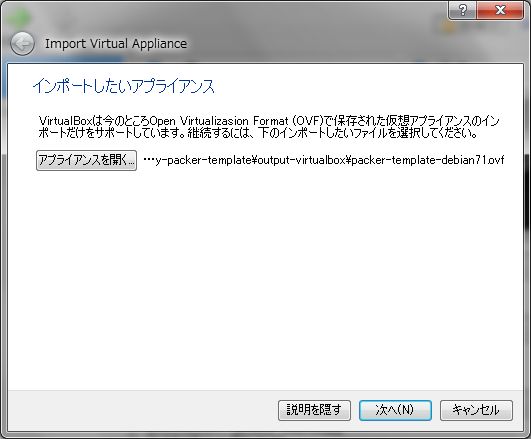
「アプライアンスを開く」をクリックし、④で作成されたOVFファイルを指定すると、アプライアンスファイル名が設定されますので、「次へ(N)」をクリックします。
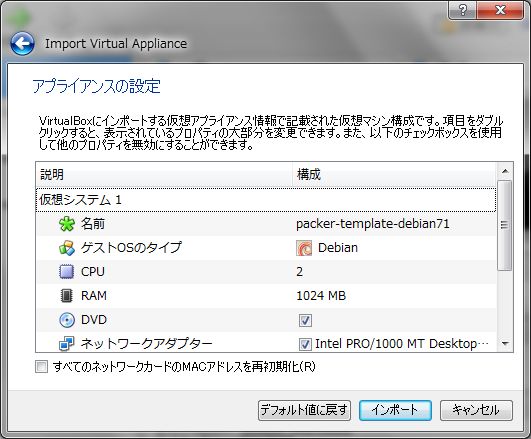
アプライアンスの設定内容が表示されたら、「インポート」をクリックします。
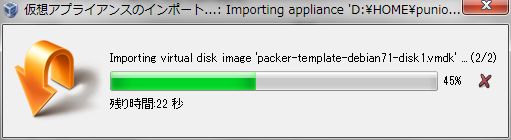
アプライアンスのインポートが開始され、終了するとホーム画面にインポートされたアプライアンスが表示されます。
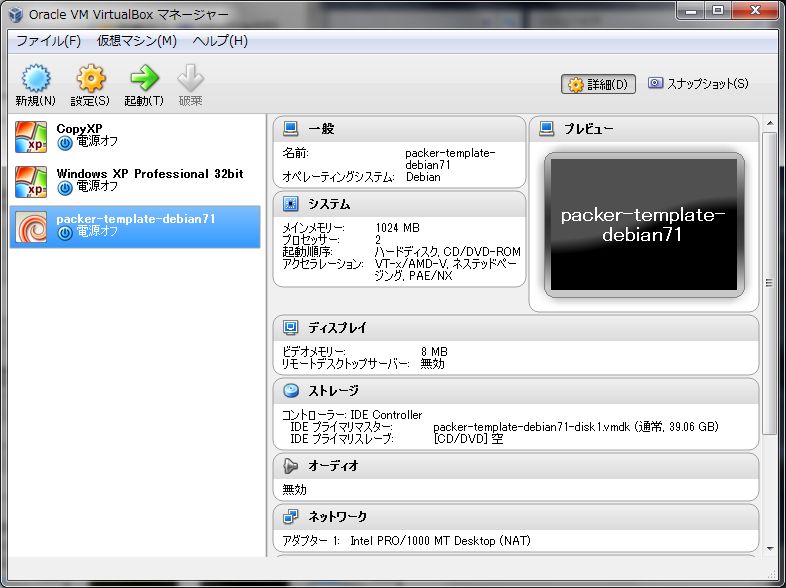
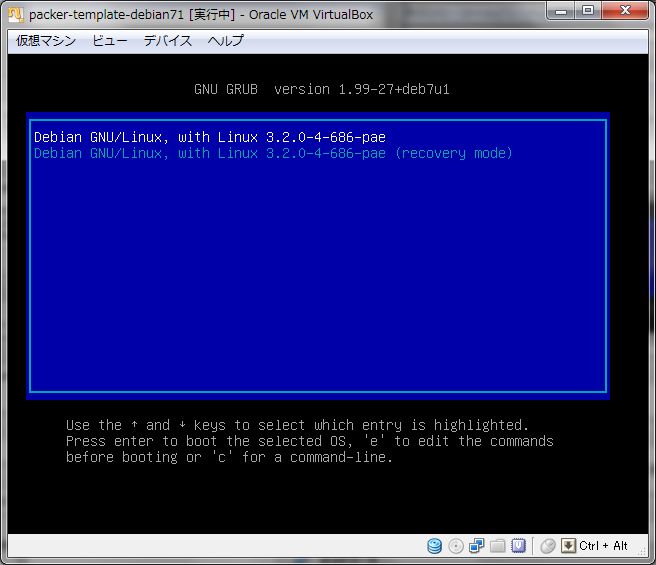
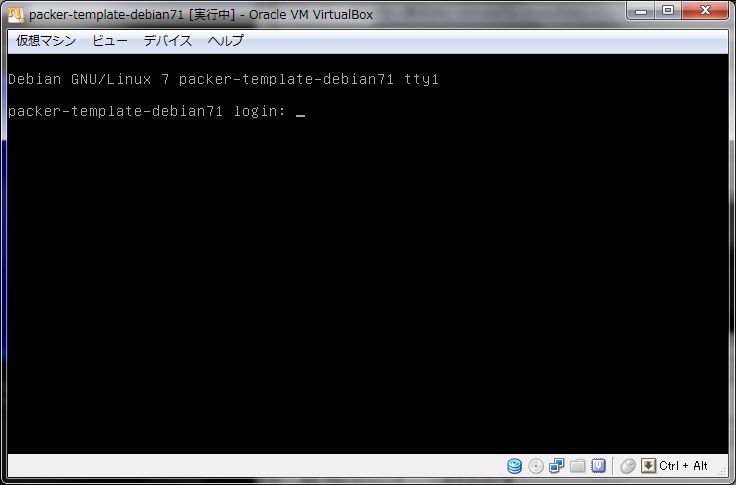
以上の手順で、Debian Linuxの仮想マシンイメージの作成とVirtualBoxへのインポートが終了し、VirtualBoxのホーム画面から作成した仮想マシンを起動できるようになります。
Vagrantによる仮想マシンの作成
Vagrantによる仮想マシンの作成は、下記の手順で行います。
①Vagrant環境の初期化
Vagrantによる仮想マシンを作成する前に、Vagrant環境の初期化を行います。
vagrant init

punio@PAPA ~/my-vagrant-box
$ vagrant init
A `Vagrantfile` has been placed in this directory. You are now
ready to `vagrant up` your first virtual environment! Please read
the comments in the Vagrantfile as well as documentation on
`vagrantup.com` for more information on using Vagrant.
②仮想マシンの追加
既存の仮想マシン(Vagrantでは、Boxと呼んでいます)を追加します。ここでは、precise32.boxを追加しています。
Vagrant Box add precise32 http://files.vagrantup.com/precise32.box
これにより、指定したURL上のBoxをローカルのVagrant Boxとして追加します。

punio@PAPA ~/my-vagrant-box
$ vagrant box add precise32 http://files.vagrantup.com/precise32.box
Downloading or copying the box...
Extracting box...ate: 342k/s, Estimated time remaining: --:--:--)
Successfully added box 'precise32' with provider 'virtualbox'!
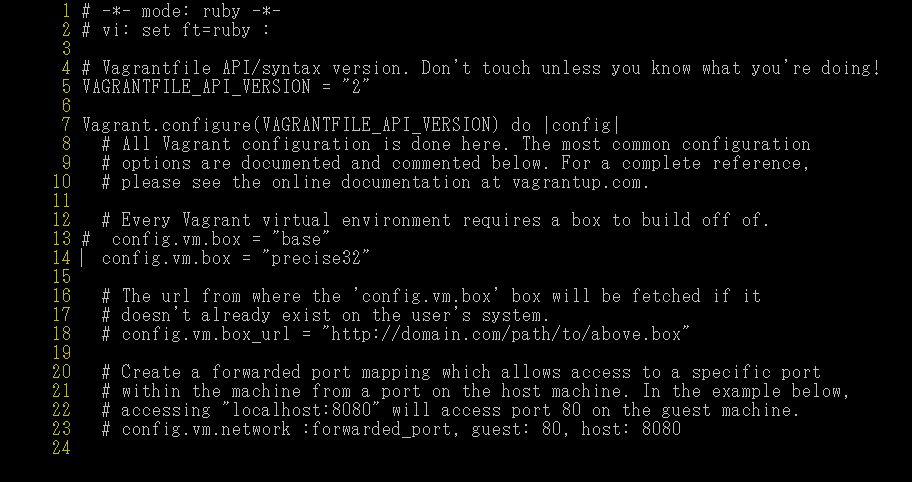
③設定ファイルVagrantfileの編集
addコマンドで作成されたVagrantファイルを下記のとおり変更します。
(変更前) config.vm.box = "base"
(変更後) config.vm.box = "precise32"

Vagrantfileを変更しないまま、④の手順に進むとBoxが起動しませんので注意して下さい。
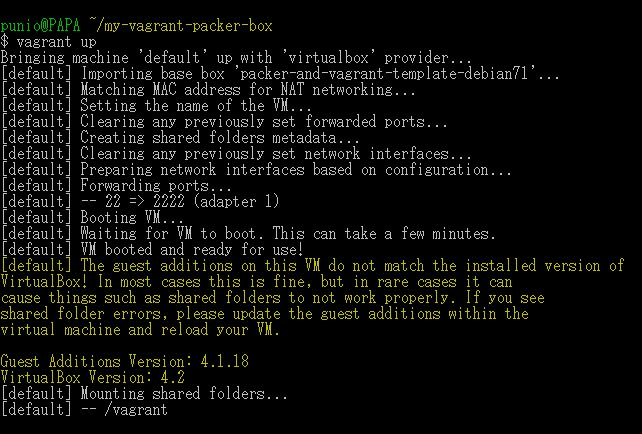
④Boxの起動
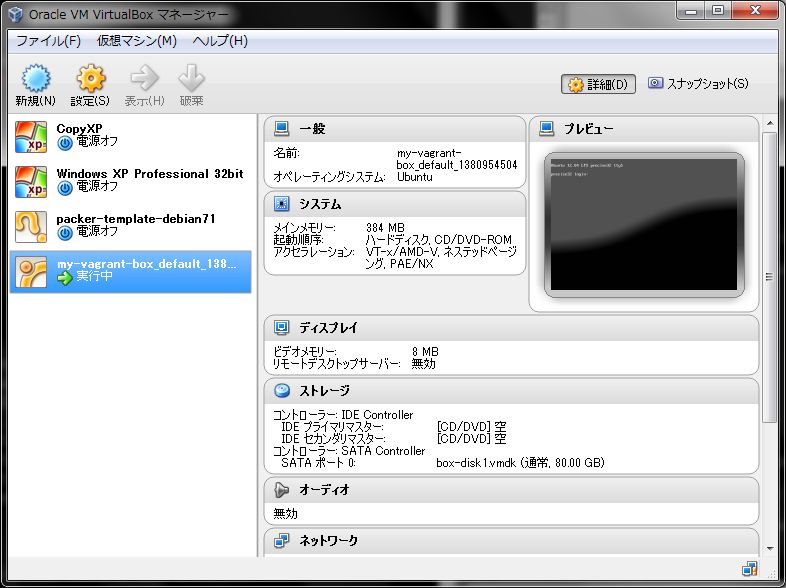
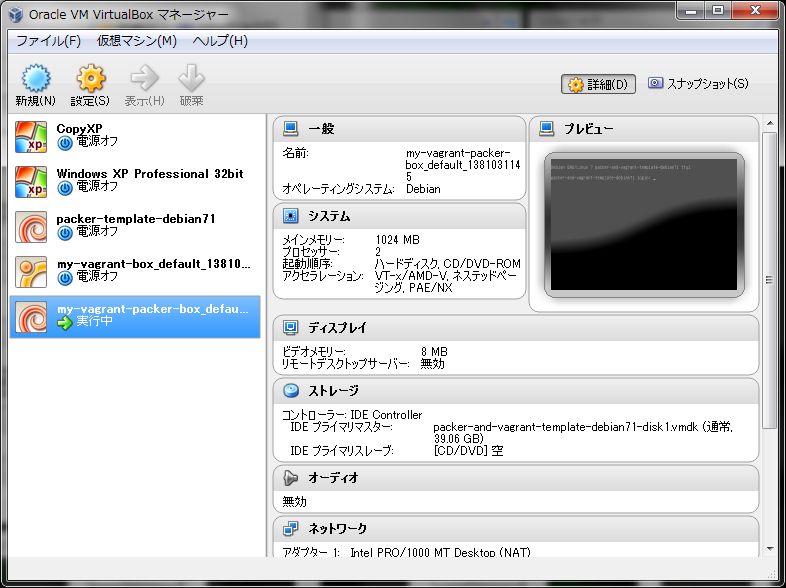
ローカルに追加されたBoxを起動します。
vagrant up
これにより、追加したBoxのProvider(precise32のProviderは、VirtualBox)のGUI画面が起動され、仮想マシンが実行されます。
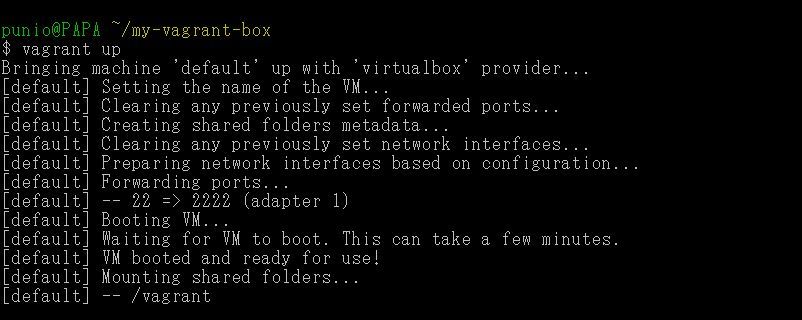
punio@PAPA ~/my-vagrant-box
$ vagrant up
Bringing machine 'default' up with 'virtualbox' provider...
[default] Setting the name of the VM...
[default] Clearing any previously set forwarded ports...
[default] Creating shared folders metadata...
[default] Clearing any previously set network interfaces...
[default] Preparing network interfaces based on configuration...
[default] Forwarding ports...
[default] -- 22 => 2222 (adapter 1)
[default] Booting VM...
[default] Waiting for VM to boot. This can take a few minutes.
[default] VM booted and ready for use!
[default] Mounting shared folders...
[default] -- /vagrant
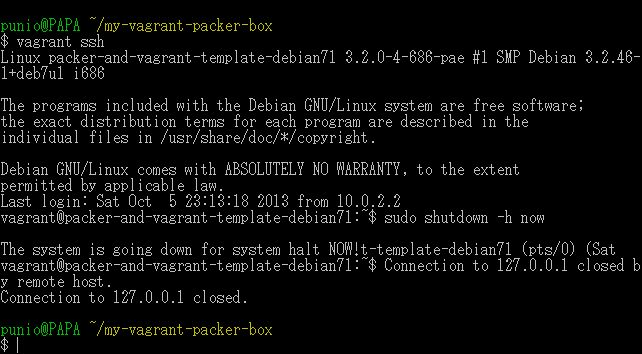
⑤Boxへのログイン
起動したBoxにログインします。
vagrant ssh
vagrantユーザーで起動したサーバーに接続できます。
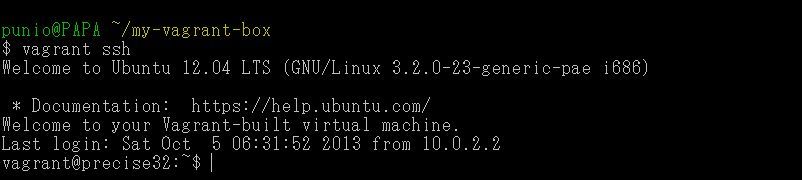
punio@PAPA ~/my-vagrant-box
$ vagrant ssh
Welcome to Ubuntu 12.04 LTS (GNU/Linux 3.2.0-23-generic-pae i686)

 * Documentation:  https://help.ubuntu.com/
Welcome to your Vagrant-built virtual machine.
Last login: Sat Oct  5 06:31:52 2013 from 10.0.2.2
vagrant@precise32:~$
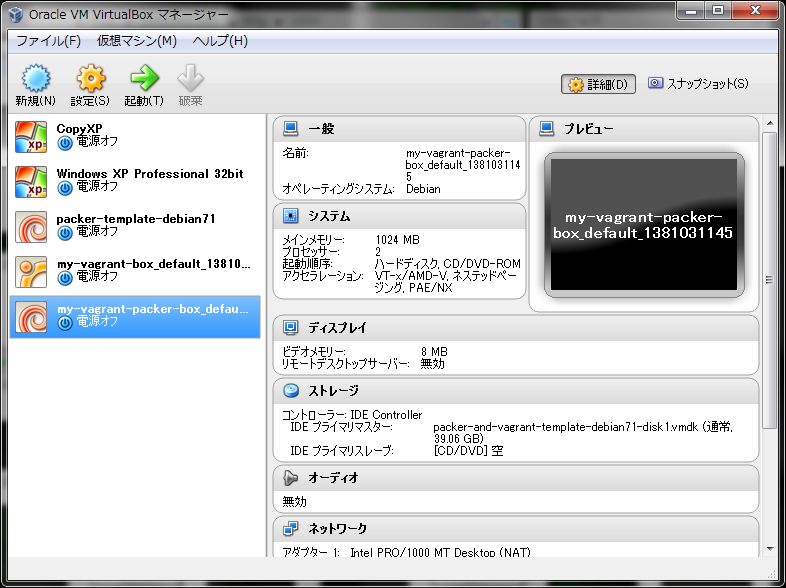
⑥Boxの停止
起動したサーバーをシャットダウンします。
sudo /sbin/shutdown -h now
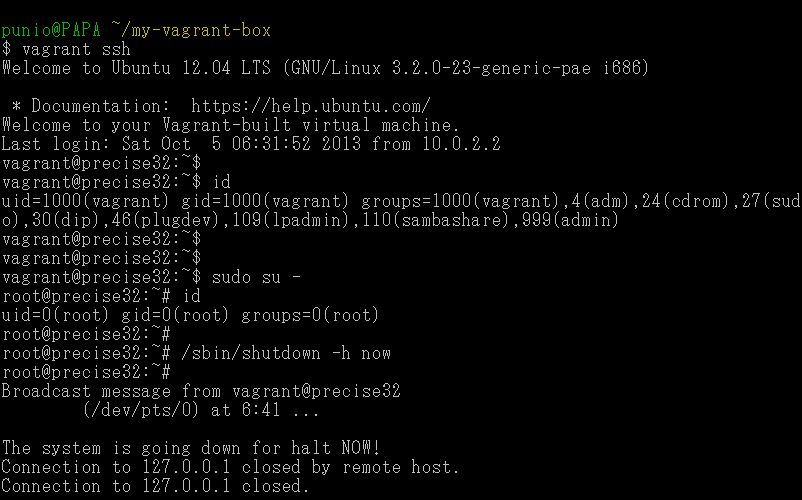

以上の手順で、既存のBoxの追加、起動から接続および、停止を行うことができます。なお、Boxの一覧は、Vagrantbox.esにて公開されていますので、必要なBoxを見つけて利用する事ができます。
PackerでVagrant boxを作成する
Vagrantでは、既存のBoxの追加および、起動はできますが、ユーザーがPackerで作成した仮想マシンイメージを起動することはできません。しかし、Packerで仮想マシンイメージを作成する際に、Vagrant Boxの作成を構成ファイルに追加することで、オリジナルの仮想マシンイメージをVagrantで起動できるようになります。Vagrant Boxの作成は、下記の手順で行います。
①構成ファイルの作成
前述と同様に、下記のファイルを作成します。preseed.cfgおよび、base.shは前回のものをそのまま使用し、
テンプレートファイルおよび、vagrant.shを追加しています。
| ファイル名 | 概要 |
| packer-and-vagrant-template-debian71.json | テンプレートファイル |
| preseed.cfg | Debian自動インストール用の設定ファイル |
| base.sh | Provisionerに指定するシェルスクリプトファイル |
| vagrant.sh | Provisionerに指定するシェルスクリプトファイル |
②テンプレートファイルの構文チェック
packer validate packer-and-vagrant-template-debian71.json

③Vagrant Boxの作成
packer build packer-and-vagrant-template-debian71.json
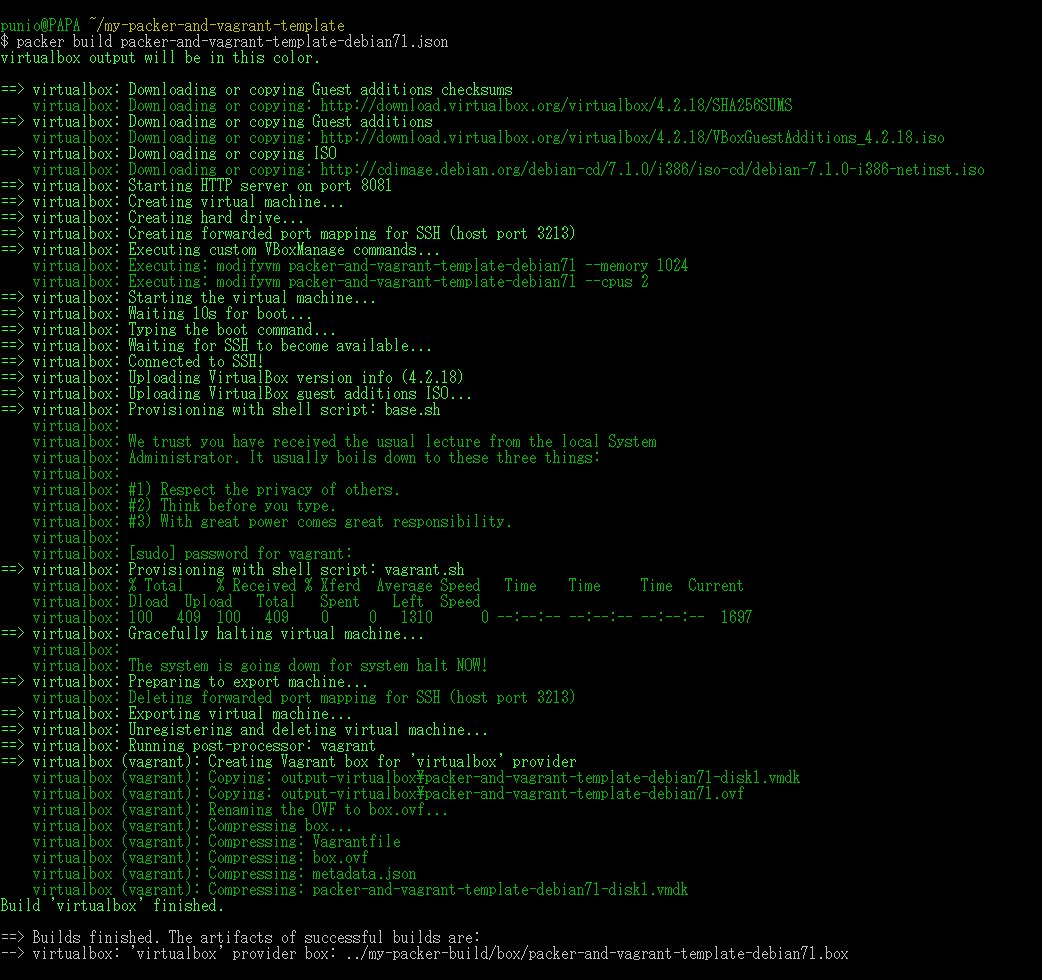
punio@PAPA ~/my-packer-and-vagrant-template
$ packer validate packer-and-vagrant-template.json
Template validated successfully.

punio@PAPA ~/my-packer-template
$ packer build packer-template-debian71.json
virtualbox output will be in this color.

==> virtualbox: Downloading or copying Guest additions checksums
    virtualbox: Downloading or copying: http://download.virtualbox.org/virtualbox/4.2.18/SHA256SUMS
==> virtualbox: Downloading or copying Guest additions
    virtualbox: Downloading or copying: http://download.virtualbox.org/virtualbox/4.2.18/VBoxGuestAdditions_4.2.18.iso
==> virtualbox: Downloading or copying ISO
    virtualbox: Downloading or copying: http://cdimage.debian.org/debian-cd/7.1.0/i386/iso-cd/debian-7.1.0-i386-netinst.iso
==> virtualbox: Starting HTTP server on port 8081
==> virtualbox: Creating virtual machine...
==> virtualbox: Creating hard drive...
==> virtualbox: Creating forwarded port mapping for SSH (host port 3213)
==> virtualbox: Executing custom VBoxManage commands...
    virtualbox: Executing: modifyvm packer-template-debian71 --memory 1024
    virtualbox: Executing: modifyvm packer-template-debian71 --cpus 2
==> virtualbox: Starting the virtual machine...
==> virtualbox: Waiting 10s for boot...
==> virtualbox: Typing the boot command...
==> virtualbox: Waiting for SSH to become available...
==> virtualbox: Connected to SSH!
==> virtualbox: Uploading VirtualBox version info (4.2.18)
==> virtualbox: Uploading VirtualBox guest additions ISO...
==> virtualbox: Provisioning with shell script: base.sh
    virtualbox:
    virtualbox: We trust you have received the usual lecture from the local System
    virtualbox: Administrator. It usually boils down to these three things:
    virtualbox:
    virtualbox: #1) Respect the privacy of others.
    virtualbox: #2) Think before you type.
    virtualbox: #3) With great power comes great responsibility.
    virtualbox:
    virtualbox: [sudo] password for vagrant:
==> virtualbox: Gracefully halting virtual machine...
    virtualbox:
    virtualbox: The system is going down for system halt NOW!
==> virtualbox: Preparing to export machine...
    virtualbox: Deleting forwarded port mapping for SSH (host port 3213)
==> virtualbox: Exporting virtual machine...
==> virtualbox: Unregistering and deleting virtual machine...
Build 'virtualbox' finished.

==> Builds finished. The artifacts of successful builds are:
--> virtualbox: VM files in directory: output-virtualbox
④Vagrant環境の初期化
vagrant init


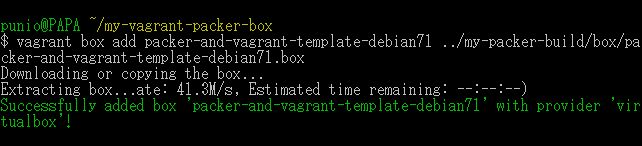
⑤Vagrant Boxの追加
vagrant add packer-and-vagrant-template-debian71 ../my-packer-build/box/packer-and-vagrant-template-debian71.box
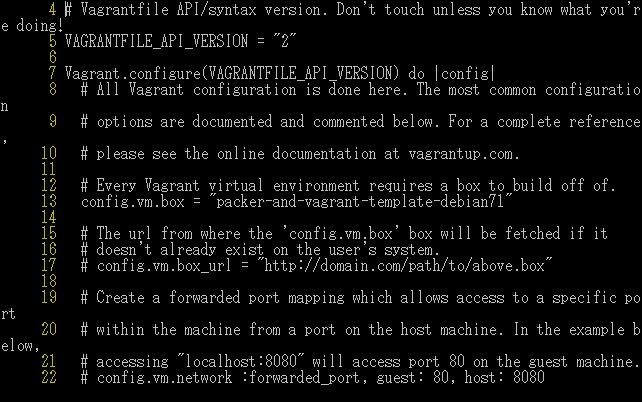
⑥設定ファイルVagrantfileの編集
addコマンドで作成されたVagrantファイルを下記のとおり変更します。
(変更前) config.vm.box = "base"
(変更後) config.vm.box = "packer-and-vagrant-template-debian71"
Boxを追加した後の接続および、停止の手順は、Vagrantと同様に行います。
以上の手順で、オリジナルの仮想マシンイメージをVagrant Boxとして利用できるようになります。
まとめ
ここまで、自動作成ソフトウエアについて解説しました。自動化ソフトウエアは、歴史も浅く情報も多いとは言えません。しかし、PackerやVagrantを利用した開発環境の構築は、開発者にとってさまざまなテスト用プラットフォームをいつでも直ぐに使えるメリットがあります。また、ユーザーサイドで作成したカスタムイメージも同様にVagrantで扱えるため、カスタムイメージをプロジェクトメンバーに簡単に配布することもできます。情報が少ないとは言え、本記事を参考にして、仮想インフラの自動化にチェレンジしては如何でしょうか。